31 August, 2021

A Boxy Pouch

 Boxy Pouch sewn with scrap fabrics

I recently sewed this pouch using scrap fabrics for the cute external zipper pocket and just random greys for the outer fabric.

Front zipper view of boxy pouch with tag showing

We won't mention how I put the label on upside down, nope, we'll ignore that.

I'm not sure what I'll use it for, maybe I'll give it to my son as he was wanting a new project bag for his crochet.

I used the pattern from this book or this book in Australia, I also reviewed the pattern book in this YouTube video, have you seen it yet?  How was the review? I'm working on improving my channel, so stick with me as I grow more confident there!

Fingers opening the front zipper section on the boxy pouch
Need more Crafty Inspo list, then check out my shoppable lists here.... 

I utilise affiliate (aff) links throughout my blog as a way to help me keep crafting. 
If you click on an aff link, I receive a very small amount from it at NO cost to you. 
So please help me to keep CraftyRie up and running by clicking on my aff links!Many thanks, Rie

Fingers opening top zipper showing the interior of the boxy pouch

11 August, 2021

Sock Arms Cardi


I'm so truly, madly, deeply in love with my latest knitted piece. 

Do you adore it as much as I do? 

It's knit in fingering weight yarn, so yes, it took me ages but those sleeves were super fun to make!

I used this yarn for the body and this yarn for the sleeves. As suggested by the blog title, you're supposed to use sock yarn, so I could have used this type of yarn, this yarn or this yarn too.

Pattern is from this book or if you're in Australia like me, then grab the book from either here or here.   FYI, my name is in the back of the book because I was a pattern tester for this cardi. Let me know if you see my name in there! If you want to see what other awesome knitting patterns that are included within the same pattern book, then click here to see my review of it where I give you a sneak preview of all the patterns!

Need more Crafty Inspo list, then check out my shoppable lists here.... 

Did you know that I have a YouTube channel? Click here to check it out & let me know your thoughts on what you'd like to see there! 

I utilise affiliate (aff) links throughout my blog as a way to help me keep crafting. 
If you click on an aff link, I receive a very small amount from it at NO cost to you. 
So please help me to keep CraftyRie up and running by clicking on my aff links!Many thanks, Rie

09 August, 2021

Sewing Kids Leggings on a Sewing Machine


I recently made these leggings for Delaney. I sewed them on the sewing machine, no overlocker (serger) needed. I also don't cut measure or cut the elastic before sewing as I find it easier not too.

If you want to see me making these leggings then check out how I do it in this YouTube clip. I really love making these as you only need one pattern piece. Yes, you read correctly, you one need ONE pattern piece!

Have you subscribed to my YouTube channel yet? I'd really appreciate a follow or a thumbs up over there!

Some great leggings patterns for kids can be found here, here or here

I used fabric from my stash but for some great fabric suggestions try here or here in Australia.

Need more Crafty Inspo list, then check out my shoppable lists here.... 

Did you know that I have a YouTube channel? Click here to check it out & let me know your thoughts on what you'd like to see there!

I utilise affiliate (aff) links throughout my blog as a way to help me keep crafting. 
If you click on an aff link, I receive a very small amount from it at NO cost to you. 
So please help me to keep CraftyRie up and running by clicking on my aff links!Many thanks, Rie


06 August, 2021

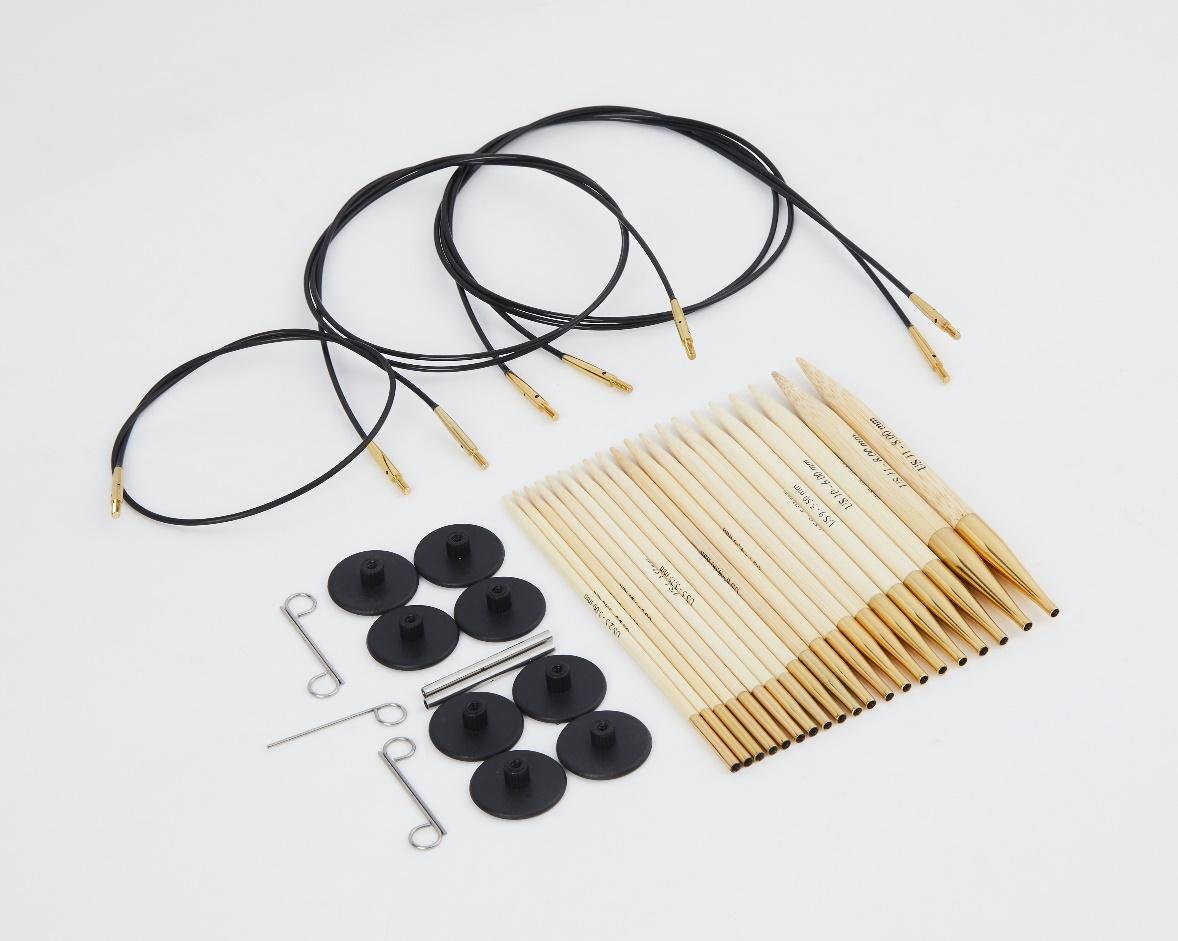
Interchangeable Knitting Needles – Review, How To Knit

Are you a novice knitter? Then you might want to know what kind of needles you need for your new hobby. Today we would like to show you how useful interchangeable knitting needles are. We will also answer a few common questions that you might have about interchangeable knitting needles, let’s get started. 

Are Interchangeable Knitting Needles Good?


Yes, they are. Interchangeable knitting needles are very easy to use and give you flexibility when it comes to different kind of projects and yarn choices. 


Whether you just want to knit a cuff in a smaller size or you want change the size of needle for a colourwork section, the interchangeable circular knitting needles make this change very easy.


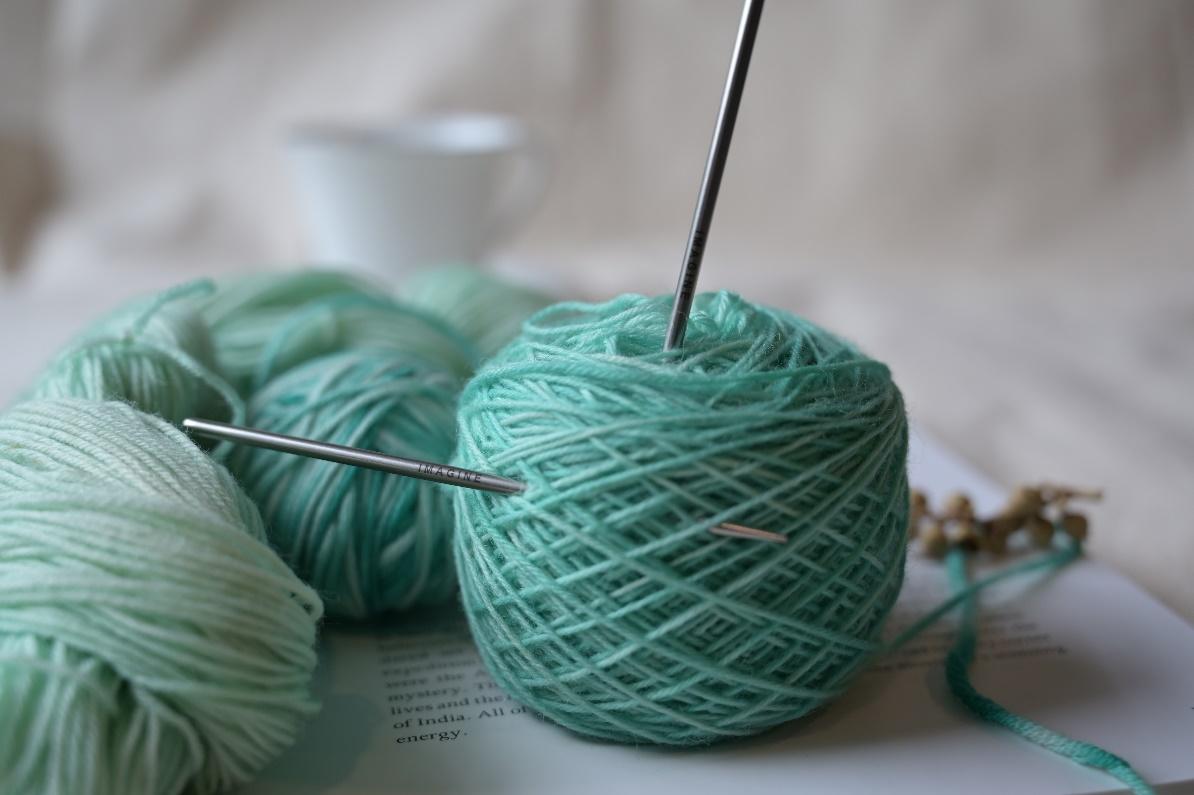
An interchangeable knitting needle is made out of two needle tips that are connected via a cord.  They are very similar to a circular needle; the only difference is that you can easily change a needle tip to a different size.


How Do You Use Interchangeable Knitting Needles?


The interchangeable knitting needles are used in the same way as circular knitting needles. 

They are good for all kind of knitting projects, whether they are knit in the round or knit flat.


If you would like to find out how to attach the cable to the needle tip, make sure to watch our video tutorial. 


What's The Best Knitting Needle for Beginners?


Most knitters will learn their first steps with straight knitting needles, as they can be rested against the body and they give stability whilst knitting. 


They are a great tool to learn on, but in the long run we recommend every knitter to try out interchangeable circular knitting needles. 


Modern patterns are mostly knit seamlessly and therefore require you to knit in the round. As this is not possible with straight needles, it is worth to get used to knitting with circular knitting needles early on.


Top 5 Reasons, Why Interchangeable Knitting Needles Are Great


As previously mentioned, you can use interchangeable knitting needles for any kind of project. They are the most versatile tool when it comes to knitting. 


Here are our top 5 reasons why it’s totally worth it to try them out:


  1. You can be flexible when it comes to needle sizes and it’s a great investment in your hobby. Purchasing an interchangeable knitting needle set instead of individual circular knitting needles in different sizes and lengths is more affordable.


  1. Do you need a shorter cable for a section of your pattern? You wouldn’t need to transfer your stitches onto a different cable, you can just simply use a shorter cable with the same needle tips that you’ve been working with already. 


  1. Do you like to knit on different kind of projects at the same time? With interchangeable knitting needles you can park a project on a cable whilst using the needles on a different project. 


  1. Using an interchangeable circular knitting needle instead of a straight knitting needle will reduce the weight that your hands need to carry whilst knitting. You will be able to knit for more hours without getting tired hands.


  1.  Do you need a really long cable for a blanket? You can even connect two cables to each other by using a cable connector. 


Conclusion


Interchangeable knitting needles are the go-to tool for many knitters around the world. They are very flexible and a smart investment for any passionate knitter. If you would like to see our full range of interchangeable circular knitting needles, make sure to visit our website


This has been a collaborative blog post.

02 August, 2021

Handy Small Pouches


I made some handy small pouches over the weekend, trying to use up my scrap fabrics rather than having the fabric just sitting there in the cupboard.

I used the pattern from this book (or this book in Australia) and didn't actually use interfacing as I didn't think they needed it!

They are going into the 'gift cupboard' as they'd make perfect gifts for kids & adults.

Need more Crafty Inspo list, then check out my shoppable lists here.... 

Did you know that I have a YouTube channel? Click here to check it out as I showcase these in a review of the pattern book.

I utilise affiliate (aff) links throughout my blog as a way to help me keep crafting. 
If you click on an aff link, I receive a very small amount from it at NO cost to you. 
So please help me to keep CraftyRie up and running by clicking on my aff links!Many thanks, Rie


26 July, 2021

The best sewing tips


The best binding tip that I've come across for joining your binding seams on a quilt is with this. It just blew my mind at how simple it was and it's now my favourite way to bind a quilt or placemats (like in the above photo).

I love quilt as you go (QAYG) and there are lots of classes on it, my favourite one to learn how to actually do QAYG are this one as I love the projects. I also liked this class as it showed me very practical tips but my absolute favourite lesson to teach you how to join your QAYG pieces is this one. Yes, it's not an actual qayg class but the very last lesson in that class she joined the blocks so simply that I just had to share it with you! I also like this single finishing strip technique as well.

I also love scrap fabric projects, so when I watched this class, ohmygosh, it was life changing! Not only was it scrap fabric but QAYG too! 

Also, I need to recommend this class. Piecing has always kinda of scared me away but this teaches piecing AND improv pieceing. The session on improv piecing just ticked all the right boxes in my brain and I've actually been giving it a go!  If I was to buy a class to keep, it would certainly be this one. 

I also really enjoyed this class, the instructor, Joe, has done all the math for you, so you just need to choose fabrics, cut, sew & find a layout that you like best. He also shows you what to do if your sewn layout is looking a little wrong aka crazy! I really liked that he showed the process of making a quilt rather than showing you how to make something that just fits a particular design. I've actually watched the class a few times now as he has a lovely teaching style and is quite funny!

Now, this lesson had tips in it for not only sorting your stash BUT the most excellent tip for working with fabric that my brain just dinged at! Yes! I ran off to the cupboard and starting using her technique! I've actually rewatched this several times now as all the lessons are really inspiring and so easy! 

If you're cupboard is overflowing with too many precuts (like me!) then this class is perfect for you as it uses a jelly roll to make the easiest Dresden quilt and charm squares to make the cutest circle quilt (like life savers/donuts).

Sewing with knit fabric (stretchy fabric) is kind of tricky and I've been trying to master it for a few years. Now, I can sew stretch fabrics but I'm never happy with the finished projects as I don't like my seams ....until I completed this online class and baboom, everything clicked and I can just use my sewing machine & don't actually need to purchase special machine (like a coverstitch) to get that nice finish.

If necklines scare you when sewing t-shirts, then this class has some inspiring necklines that are easy! 

Now, this class had lots of tips but what really blew my mind was a simple one-liner tip that she gave in regards to using a stitch on my sewing machine that I've always tried to use & never been successful with, after hearing her tip, I actually feel now more confident in my sewing! There were also so excellent elastic sewing tips too for all types of elastic.

Ok, wow that's a lot of tips and I hope they help you as much as they helped me. Also, thanks for reading this far, whilst I've got you here, can you do me a favour and let me know in the comments below what platform you use to read my blog? Do you read it via email, Bloglovin, Feedly etc as I've noticed that my readers has tripled this year and I'm curious to find myself a new blog reader.

Need more Crafty Inspo list, then check out my shoppable lists here.... 

Did you know that I have a YouTube channel? Click here to check it out & I'd love to know your thoughts on what you'd like to see there!

I utilise affiliate (aff) links throughout my blog as a way to help me keep crafting. 
If you click on an aff link, I receive a very small amount from it at NO cost to you. 
So please help me to keep CraftyRie up and running by clicking on my aff links!Many thanks, Rie

22 June, 2021

Sewing fat quarter cushions


I've been sewing lots of cushions lately as they make great gifts and are fantastic stash busters too.

I use two fat quarters, a zip and of course, a cushion insert

It's a great way to use all those pretty fat quarters in your stash that have been sitting there because you never wanted to cut them up!

How do I make them? Well, you could check out my YouTube video on how I make them or for notes on how I do it then keep on reading below:

Choose two co-coordinating fat quarters, a pretty coloured zip that is either the same length or longer (& you trim it down to size) and a cushion insert. Yep, that's all you need!

First, sew the zip onto the first fat quarter, then line up the second fat quarter and sew the zip onto it.

I then go back and sew a zigzag along the edge to neaten the edges. 

Open the zipper up partway, then line up (& pin if necessary) the three remaining sides and sew. Then go back and do a zigzag stitch to neaten the edges & prevent fraying.  Trim any excesss loose threads.

Turn the cushion inside out & insert the cushion insert & close the zipper. 

Done! One very quick, fun fat quarter cushion!

Have you subscribed to my YouTube channel yet? If not, click here to do so .. I'd really appreciate it!

Do you need a shop-able photo with a list of supplies needed for this project, if yes, then click here!

I utilise affiliate (aff) links throughout my blog as a way to help me keep crafting. 
If you click on an aff link, I receive a very small amount from it at NO cost to you. 
So please help me to keep CraftyRie up and running by clicking on my aff links!Many thanks, Rie